

WHAT WE DO
We help you sell on FB, with ease.
Our system is designed with our clients in mind. We know FB Admins are usually busy handwriting and taking note of customer order, they had to manually send order summary to customers and constantly worry about inventory levels.
With us, there is no more hassle, no more missed orders.
That's a promise.

STEP 1: LOGIN & ACTIVATE ACCOUNT
Once your account is setup, log on to The Dashboard activate it.
Set up your shop settings and banking details. At this point, you should customise your page by adding logo and custom messages for customers. Remember to link your CF Dashboard with your Facebook Page and Account.
To do so, go to the Shop Setting and fill in the necessary details and login with Facebook
There are some advance settings, which may not be necessary for new users. Ask your account manager or contact us for more details
STEP 2: CREATE CATALOG
To begin, first create a Product Catalog by inputting items individually.
To add individual products, Go to the "Warehouse" Tab located on the Blue Ribbon at the top > Select "Add New Item" and fill in the details.
Alternatively, you can import a complete catalog into CF manager using an Excel (xlxx) file format. You may ask your account manager for the Excel Template.
To edit your product details; name, code, price, stock - Go to "Warehouse" > Select "Manage Stock". You will see the full list of your product. From here, simply search for your desired product and press the "Edit" button located on the right.
For Complete tutorial of Catalog Manager, watch the video [Video unavailable yet]
Alternatively, a complete explanation for Warehouse manager & product catalog can be found here.
STEP 3: NOTIFY CUSTOMERS
This is CF's unique feature. Use the broadcast feature to invite your audience to join your scheduled live session.
More audience = More sales!
To broadcast, go to "FB Live Tab" and select "Broadcast".
Fill in the message and select the recipient for the messenger broadcast
STEP 4: GO LIVE
Start your livestream! Once your items are set up, you can start selling by following these steps;
1. Go to "Manage Stock", activate products for sale by selecting the product and click "Start".
You can select all and start all products to make everything available for sale.
2. Refresh the page so that the FB Live link is loaded
3. Monitor customer comments and orders
STEP 5: WAIT FOR PAYMENT
Go to the "FB Live" tab and monitor incoming orders. When your livestream ends, DO NOT DELETE THE VIDEO.
Stay on the page to monitor the status of orders and send payment links to prompt customers to make payment.
STEP 6: VERIFY PAYMENT
Verify payment by checking your cash inflow and match it with the sales report.
CF manager can create a daily sales report for you to check your cashflow
STEP 7: SHIP OUT ITEMS
Use CF Manager to generate an airway bill or Delivery Order. This should printed and pasted on the package for delivery.
With CF, you are free to choose your own delivery rider. If you don't have drivers, we can link you with some of our partners at no charge.
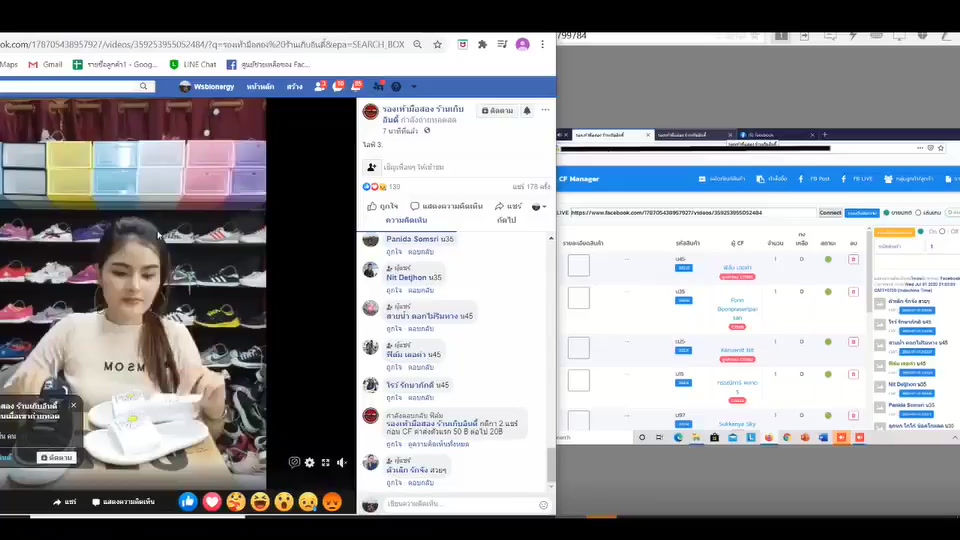
SEE US IN ACTION
The only FB Live System you need. Seriously.